Special renovation
From single to double glazing
By Jean-Pierre Besançon


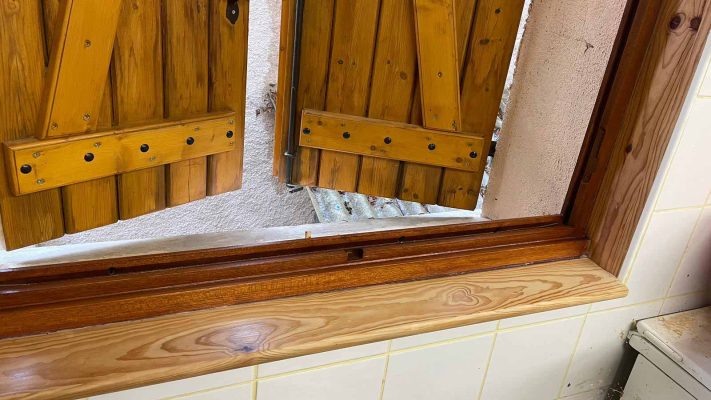
As part of my renovation project for the building housing my joinery workshop, I wanted to renovate my two French windows by replacing the single-glazed units installed with glazier’s putty with custom-made double-glazed units..
By carrying out this project myself, I was able to make a double saving, firstly in terms of the work involved and, more importantly, on heating costs.
The other positive point is that the temperature in the workshop in the middle of summer was lowered by 2 to 3 degrees.
Today, I’d like to briefly explain the various stages that enabled me to achieve a very professional result.
Once the window was off its hinges, I proceeded to remove the single-glazed unit, taking care to protect myself from shards of glass.
I put the window on my workbench and broke the glass with a hammer.
This is a very delicate operation, and requires complete protection.
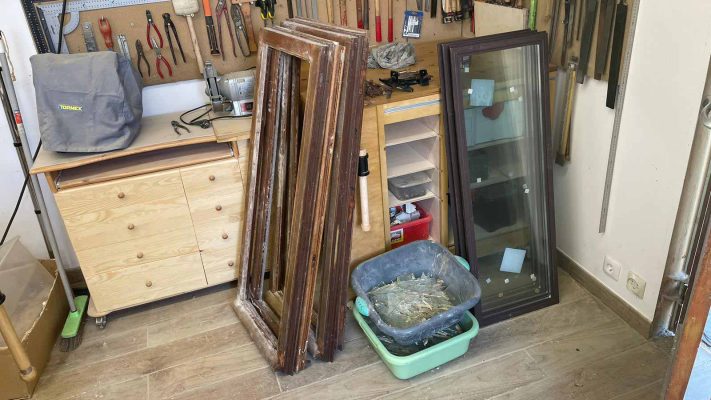
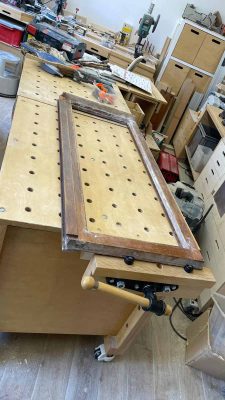
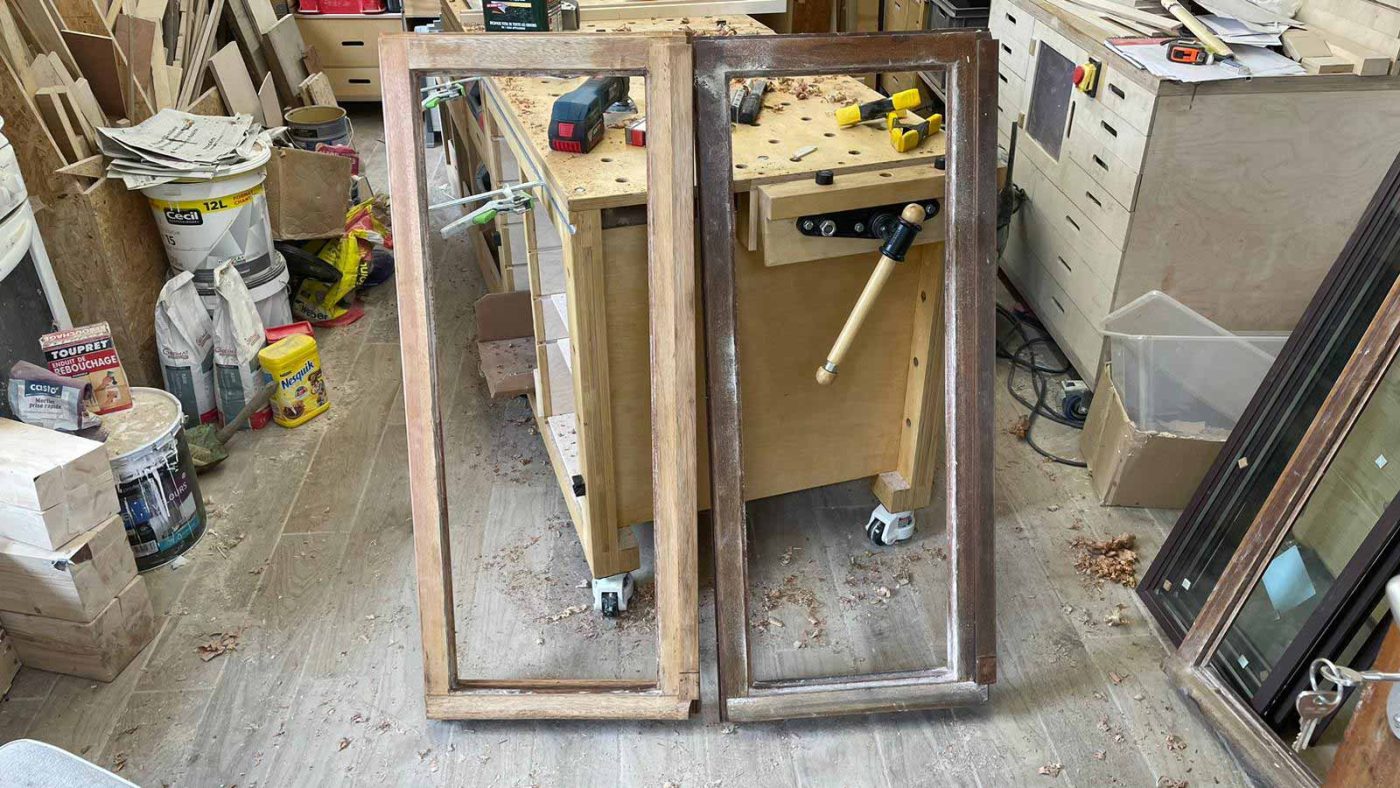
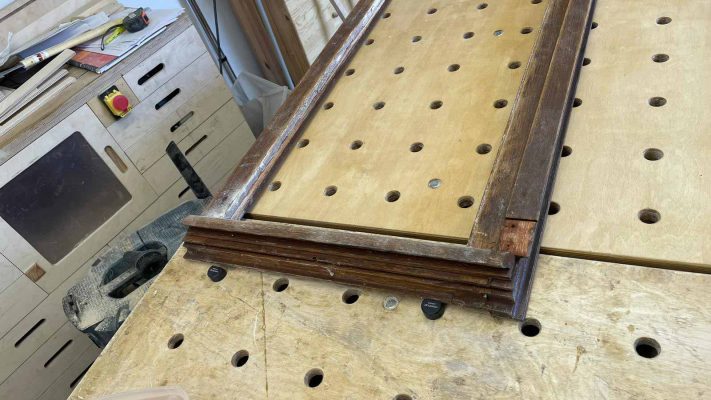
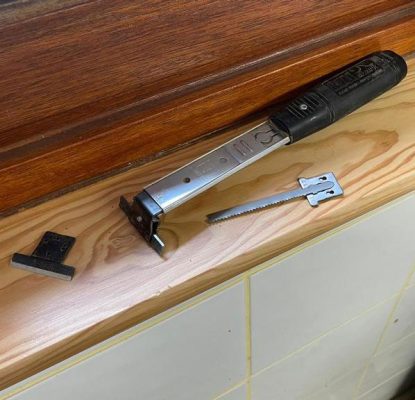
Once the single glazing had been removed, I had to clean all the rebates.
First, remove the metal triangles holding the single glazing in place before applying the glazier’s putty; these can also be small nails.
Then scrape off all the putty with the RALI SHARK scraper with carbide blade.
Final cleaning with RALI guillaumes: G03 and B30
Remove all hardware.
To clean the window frame, brush on paint remover. Then scrape with a RALI scraper.
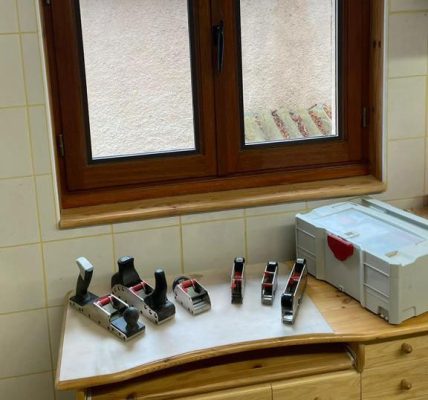
The 260 plane was particularly useful for cleaning all sides of the frames, as was the G30 for large rabbets..
Sanding with a multi-function tool; to avoid rounding off the frames on the width with an orbital sander. Finish with 120-grit sandpaper.
For frames, similar procedure: solvent, squeegee without fear of rubbing against the cement with the edge of the blade.
Plan the frame sill with RALI 105 palm plane and edges with RALI G03 if necessary, respecting the direction of the wood grain.
Sanding with a practical multi-function tool to get into corners.
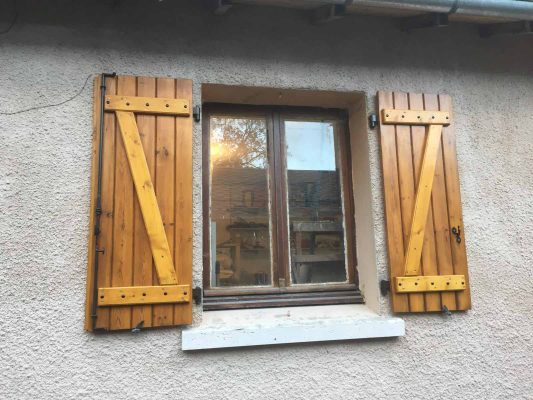
Apply a teak-colored glaze to windows and frames.
Colorless stain on pine interior frames.
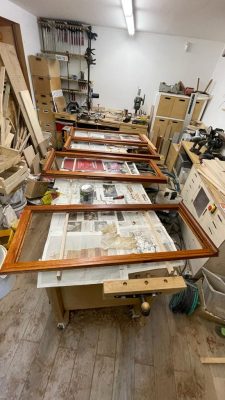
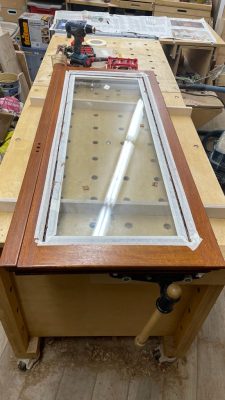
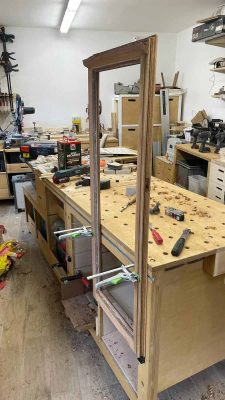
Insert the double-glazed unit into the window, using 4 wedges to wedge the double-glazed unit in place.
Wedge the corner of the double-glazed unit opposite the hinge at the top of the window with two wedges; do the same for the corner opposite the hinge at the bottom.
Do not wedge the other two corners; this is to reduce the forces on the hinges due to the weight of the double glazing. Otherwise, there’s a risk of the window frame collapsing, as it wasn’t designed for double glazing.
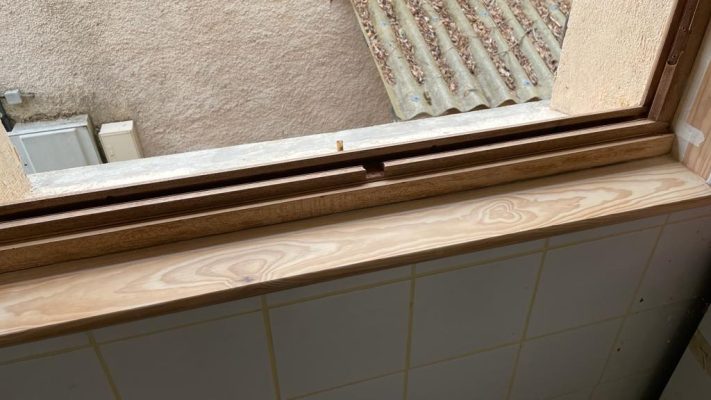
A silicone seal fills the gap between the double glazing and the frame. It provides a perfect seal against the elements.
Before installing the seal, I masked it with adhesive tape to ensure the seal was clean.
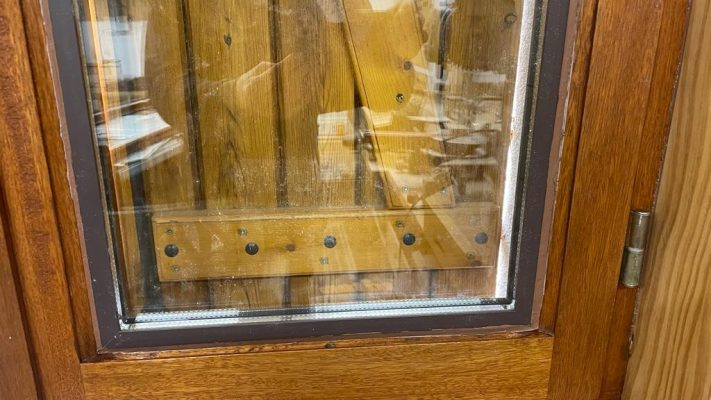
I had to repeat this operation for all my windows; it’s a bit tedious but I’m very satisfied with the result.

The ideal block plane for small plane surfaces such as the bottom of picture frames. It’s the perfect companion to keep close to you at all times.

105 Evolution N
Le rabot de paume idéal pour les petites surfaces à planer comme les bas d’encadrement. C’est le parfait compagnon à garder toujours proche de vous.
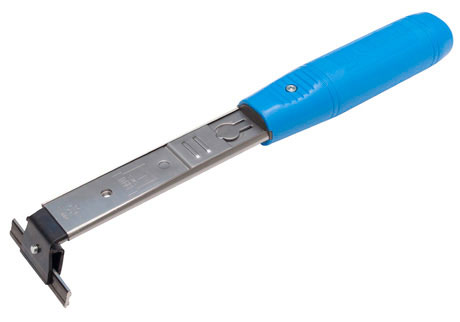
Scraper RALI Shark
I use it regularly for a variety of projects.
Can be fitted with a chrome or carbide iron for scraping varnish, glue, paint, composite or even rust.
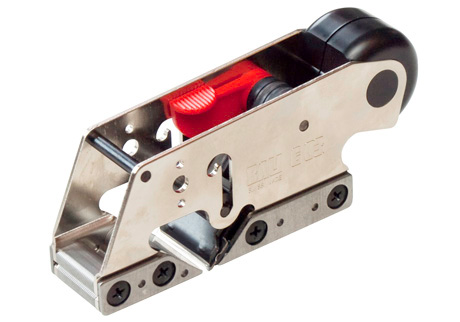
G03 Evolution N
Very practical for rebating in just a few passes, with minimum depth adjustment to expose the wood.
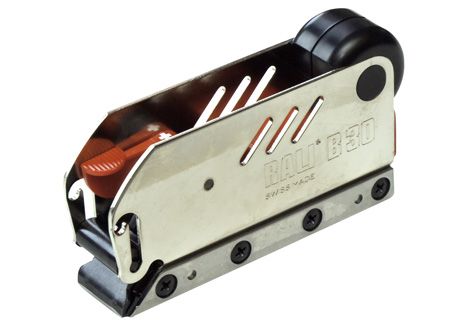
B30 Evolution N
This bull nose plane is a perfect complement to the G03 (or G30), as it allows you to finish the work at the stop. Its blade is located on the front of the plane.
Complete TOOLCASES
Today
Exceptional offers
on our complete equipment toolcases
Today
Free delivery
on 5- and 10-pack planer blades